While Ventrata provides the option to create email templates, it can be also connected to Mailjet to create more personalised templates. With Mailjet linked with Ventrata you can send transactional emails for booking updates, cancellations and new bookings.
Create Mailjet Account
To use Mailjet, first you must create a Mailjet account.
Go to mailjet.com/signup.
Fill in the form and press the Sign up button.

Sign Up
Select your subscription plan and fill in the billing details (if applicable).
Press the Select Plan button.

Select Plan
You will receive an activation email to the address you provided in the sign up form.
Press the Activate my account button to start using Mailjet.

Activate My Account
Add Sender Domain or Address
You may want to send emails using a different email address than the one you used at account creation.
In your Mailjet account, go to Account Settings.
Account Settings
Select Add a Sender Domain or Address in the Sender & Domains section of the page.
Add a Sender Domain or Address
Press the Add domain button.
Add Domain
Insert the domain and the website name (‘Label’).
📗 TIP
You can add the domain or just a specific address, for example, [email protected].
Press the Add button.

Add
📒 NOTE
The domain is then listed in the Address section at the bottom of the page. Make sure the domain is validated and active before sending out your campaigns.
Addresses
Then go back to the top of the page and select the SPF/DKIM Authentication tab.

SPF/DKIM Authentication
📒 NOTE
You need access to your DNS records to perform the below steps.
In the Authentication Settings of your domain, press the settings button and select Setup SPF/DKIM Authentication.
Authentication Settings
Follow the onscreen instructions to allow sending emails from your domain and avoid having your emails blocked by user mail boxes.
When your DNS records are update, press the Refresh button.
Refresh
Link Mailjet with Ventrata
Since your Mailjet account and the Ventrata dashboard are separate entities, they need a way to communicate. The below steps detail how to create this connection.
In your Mailjet account, go to Account Settings.
Account Settings
Select API Key Management (Primary and subaccount) in the REST API section of the page.
API Key Management (Primary and subaccount)
In the Primary API Key box you will find your API KEY and a field for SECRET KEY. Press the Generate Secret Key button get your secret key.
Generate Secret Key
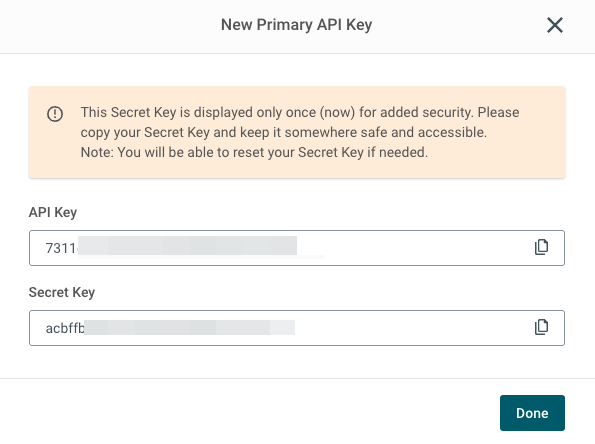
A new window with both keys is displayed. | Keep this window open for the next few steps.
New Primary API Key
In your Ventrata dashboard, go to Products > Campaigns.
Press the Campaign Managers button.
Campaign Managers
In the dialog window, press the + New Campaign Manager button.
Select ‘Mailjet’.
New Campaign Manager
Enter the name of the campaign manger.
Campaign Manager Name
Paste the following information from your Mailjet account in step 4. into your new campaign manger:
Mailjet account = Corrresponding Ventrata field
API KEY = Mailjet api key
SECRET KEY = Mailjet secret key
Mailjet API & Secret Key
Press the Create Campaign Manager button at the bottom of the form.
Create Campaign Manager